Techno Headband

A mildy esoteric project, that isn’t really about sewing as such, but did involve a bit.

I read an article about bone conduction and advertising via train windows (stay with me here) which led me to buying one of these:

http://www.maxvirtual.com/index.html

A bluetooth, headphone free, sound conducting hat!  Sounds great huh?  Perfect for jogging or commuting I thought.

Unfortunately, when it arrived, it turned out to be total rubbish, for a few reasons…

1) When playing it is easily hearable by other people, in fact it is actually louder for other people than a pair of ipod earphones.

2) The sound quality is awful. Very tinny unless you force the pressure pads onto your temples with your hands. Not entirely comfortable that…

3) At top volume the sound massively distorts.

4) At anything other than top volume it is basically inaudible, and even then it is only useable in a quiet room I suspect. It certainly won’t be audible on a train.

5) The build quality is poor to say the least.

In conclusion, not good at all.  Then I had a brainwave!  If it was in a headband rather than a hat, then it would be much tighter on the head so the sound will conduct better, and the material of the headband will muffle the sound a bit more for others.

It still won’t be suitable for commuting, but it might be salveageable for running.

30 minutes with a needle and thread later, and this is the result:

This should be banned

1 roll of black elastic and some black thread was all that was needed.

A couple of pockets on each side for the conductors, closed on three edges and open on the final one to slip the conductors in and out.

Elastic pockets

A larger pocket on the rear to put in the control unit.

And finally a moveable elastic wrap to hold the control unit in place.

Safe and secure

It actually works ok.  Sure I look like an idiot, but that is my default look, so no biggy…

Completely finished tie

Final touch on the tie was to add the holding loop on the back. I tried to make one out of satin, but the edges frayed way too much. A quick trip to John Lewis to pick up some ribbon and this was the result.

Really finished!

Here it is, modeled in inimitable fashion by yours truly.

Don’t worry, this isn’t the shirt for the wedding…

Pocket squares and a new machine

Due to the generosity of my impending mother-in-law, I now have a new sewing machine to play with, after mine died a burny smelling death.

I was going to knock up a couple of pocket squares by hand, and try and roll the edges and slip stitch them so the stitches wouldn’t show, but I wanted to give my new machine a go and I figured that the way you fold the pocket square, no-one will ever see the edges anyway. All I needed was a quick hem to stop the edges fraying, so here we are.

Pocket kinda-square

New sewing machine is pretty nice, but why is every machine a nightmare to thread? There must be an easier solution.
One more tie to go and then I am done with satin for good, too slippy by half.

Also, how the hell do you sew corners without them looking all scrappy? I should probably google that.

Tie number 3!

I think I have cracked it 🙂

Attempt number 3. This time I used the proper fabric and took my time over it all, took about 5-6 hours in total I expect. Same pattern I cut out from my skinny tie last time, but I added on about a centimetre extra one each side, and cut the fabric with the bias this time. Much easier to work with if you do that, there is a reason they tell you to it seems…

Finished!

The finished article, not too bad at all 🙂

Look how neat it is…

The lining was much neater this time, I had the genius idea of turning the tie inside out and sewing it, then reversing it afterwards, which was a lot easier thas the slip stitching I was doing before, especially as satin is a nightmare to work with.

X marks the spot

I even managed to put a little X shaped holding stitch at each end, to give it a little more of a “finished” look.

Seems a good seam

Plus, I managed to do an invisible ladder stitch up the centre line, which I’m very proud of. In fact I very proud of the finished article, not bad for my third ever tie, or even my third ever hand-sewn thing at all!

Ties. Attempt number 2

Ties. Attempt number 2

Pattern? We don’t need no stinkin’ pattern.

Last tie was definitely tie shaped but needed a lot of work for me to be happy with it, onto tie number 2.
This time I threw away the pattern and made my own. I traced round a skinny tie I already own, added on a bit to the sides for the hem, and then half of the tie width again for the fold.
I also cut out the sew in interfacing to the same length and width of the skinny tie.

Also, I just cut it out in one big piece, but against the bias this time…

It’s a tie, just thinner

Lining was a bit better, on the smaller end of the tie I tried a slip stitch, but didn’t hide it enough. On the larger end I managed to run it further under the lining so it is invisible, but couldn’t get it tight enough. Next plan is to practice just this bit on a few fabric ends, but with the revelation of why don’t I just invert the tie and machine stitch it in! Let’s see how that goes, I fear it will leave the front puckered when I turn it the right way out, but i’ll have to have a play to see. This does mean I need to buy a new sewing machine, John Lewis here I come!

Inside every thin tie, there is a fat tie trying to get out

You can see that the pattern wasn’t ideal, I need it a little bit wider, as the combination of being very skinny and working against the bias meant that the ladder stitches are gaping a bit on the reverse of the tie. Next attempt will be a single piece of fabric, a bit wider but cut with the bias, that should fix that, I hope. Plus I have a better technique for the ladder stitch, in theory anyway.

Skinny tie!

This tie was much quicker to make, about 3 hours start to finish I think, maybe a bit more.

Skinny tie!

Modelled by yours truly, doesn’t look too bad, even with glue stains and a short sleeve shirt.

Project number 2. Ties. Attempt number 1

I’m getting married later this year, and weirdly it is proving difficult to find a nice champagne coloured tie. There are lots of very light ones out there, but i’m after something a tad darker to go with my suit. So, I thought, why don’t I try and make a couple!

A quick google led me to two patterns:

Click to access The-Best-Mens-Tie-Pattern.pdf

and
http://www.purlbee.com/the-purl-bee/2009/5/21/mollys-sketchbook-fathers-day-tie.html

I decided to go with the PurlBee pattern in the end, as the tutorial seemed really good. However, being as this was my first time doing any hand sewing of any consequence, I figured some test runs would be in need.
Another trip to the haberdashery section of John Lewis and I had some nice champagne satin to use for the final ties (£15 a metre) and some horrible blue satin (£4 a metre) to practice with, along with various types of interfacing.

Free patterns FTW!

Pattern was cut out and stuck together…

2 pins or a submission

…then pinned to the fabric. This was actually really tricky to do, as the pattern is only a half pattern and needs to be pinned to a folded piece of cloth. Combine that with satin being a bit of a slippy nightmare and it wasn’t ideal. Lesson learned there, next time i’ll use a pattern that has the full tie width on it.

Fully fused

Ironing on the fusible interfacing was easy enough, but I managed to ruin my ironing board cover, it is now covered in glue 😀 Replacement needed, but for these test ties it isn’t a problem if there are glue spots on them.

I could really do with a working sewing machine at this point

Why am I cutting out three parts and then sewing them together? My cloth is long enough to make it in one piece. I’ll try that next time and see what happens…

Yes, this is post ironing

Getting the satin to hold a fold was very difficult, it moves around a lot and springs back all the time. A cotton fabric would have been much easier, but that doesn’t help me when I come to make the final ties, so perseverance is the key.

Stitching would be more comfy, I imagine

Time to pin it together, and it starts to look like a tie.

Shabby stitching is a style, right?

Sewing in the lining was difficult and looks crap, need to learn how to blind or slip stitch I think, however the ladder stitch up the centre wasn’t too bad, it holds the tie closed at least!

The front

The reverse

The finished article, poorly sewn and a bit too wide for what i’m after, but as a first attempt at hand sewing something, I don’t think that is too awful. The next one will be better…

Parsons Chair Recovering

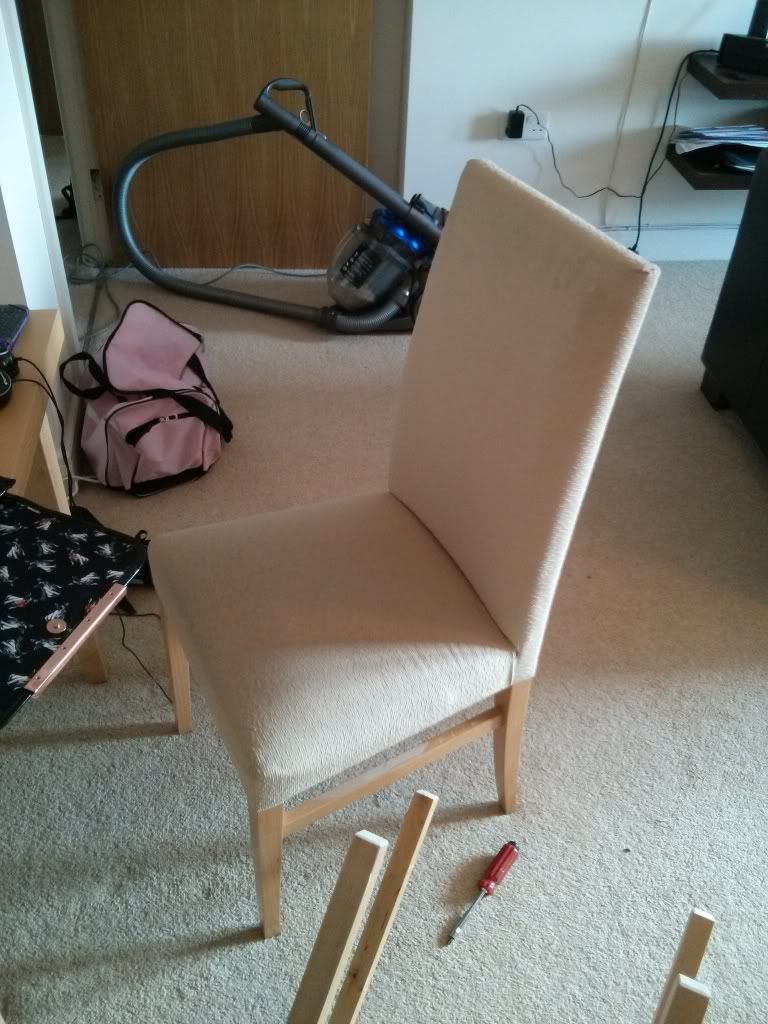
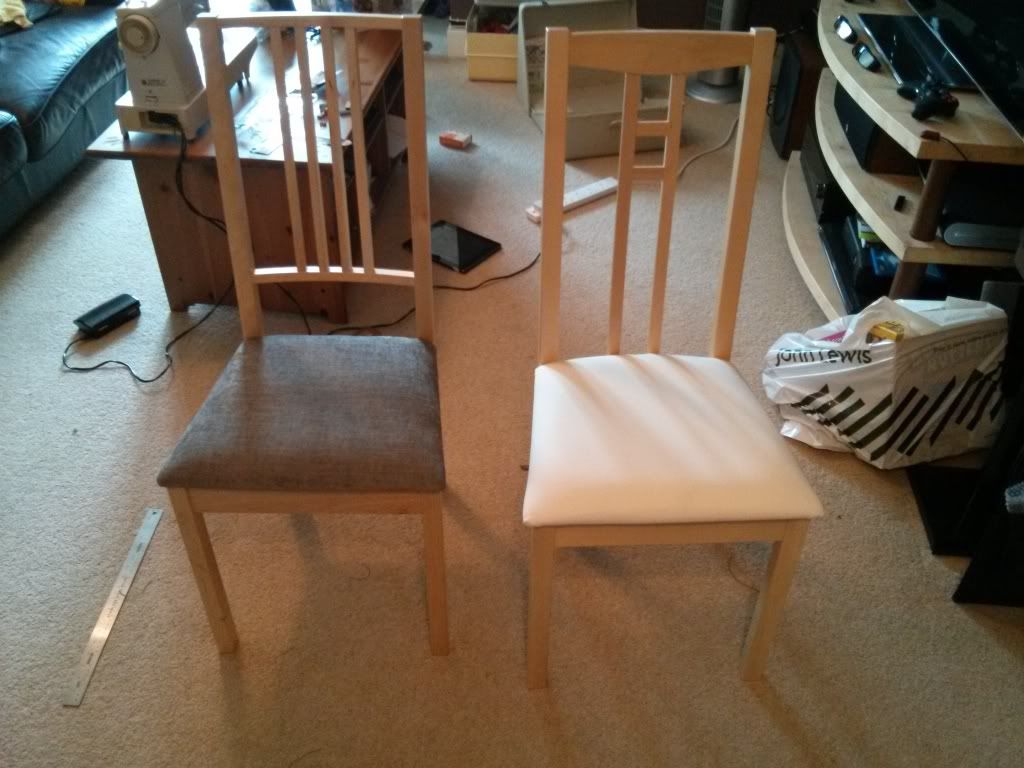
Parsons Chairs then. I didn’t even know I had Parsons Chairs, I thought I just had chairs.
I have two of them, about 10 years old I expect and a little grubby (IKEA again, naturally, what young thrusting executive doesn’t get all their dining room furniture from there?), this would be a trickier thing than recovering a seat base, as it would actually involve sewing!

Back to John Lewis for more fabric. This time it was some creamy brown stuff with a leaf of some kind on it, £15 a metre, bargain.

A chair, the day before yesterday

Said grubby chair before I started.

Looking at it, it didn’t seem too difficult, I wouldn’t even need to bother with a google search on how to do it, would I?

Turns out the seat was remarkably simple. I cut out some fabric, enough to cover the base, laid it on the seat upside down and pushed a load of it into the pocket at the back of the seat base. A couple of pins in the two front corners and off to the sewing machine I went.

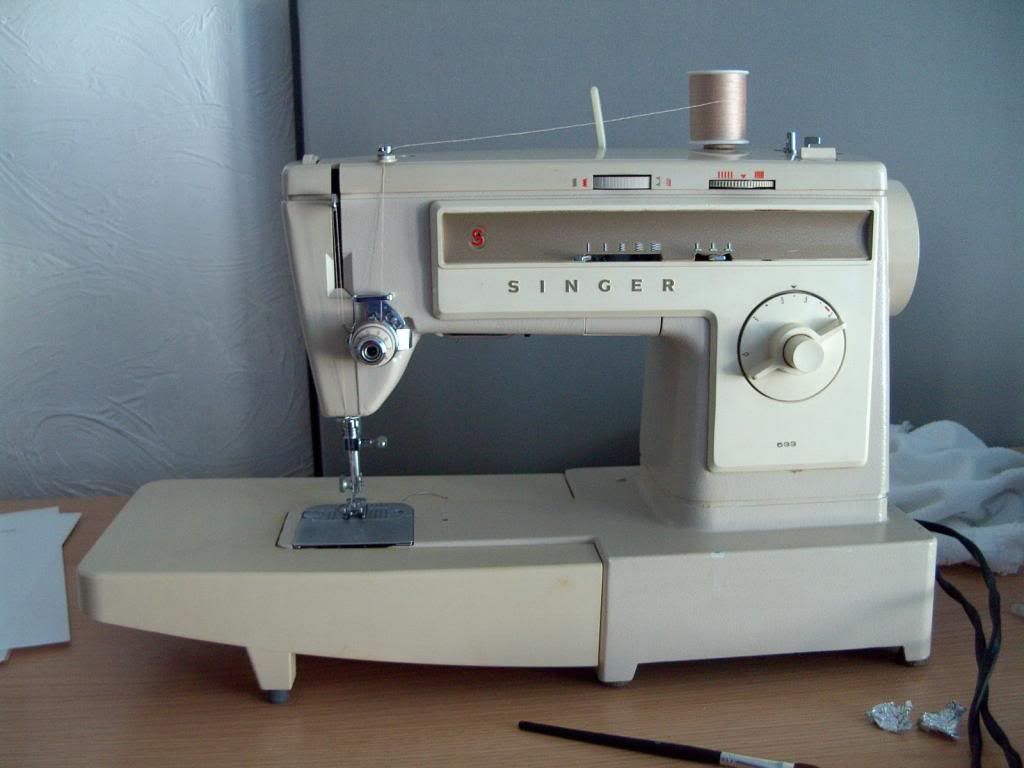
The machine is a Singer 533

This isn’t my one, I stole this pic off the internet, sorry internet

Luckily I hadn’t touched any settings since I picked it up from my parents, and it still seemed to be set to do a straight bog-standard stitch. A quick youtube guide on how to thread it (way too complex, who designed these things?) and away I went.

I sewed (is that even the correct term?) a straight stitch across each corner, about a centimetre away from the pins, then took the pins out and used the first stitch line as a line to follow to sew where the pins used to be. I probably could have just drawn a line or something and followed that, but 2 rows of stitching has got to be better than one, right? I’ll remember the drawing thing for next time.

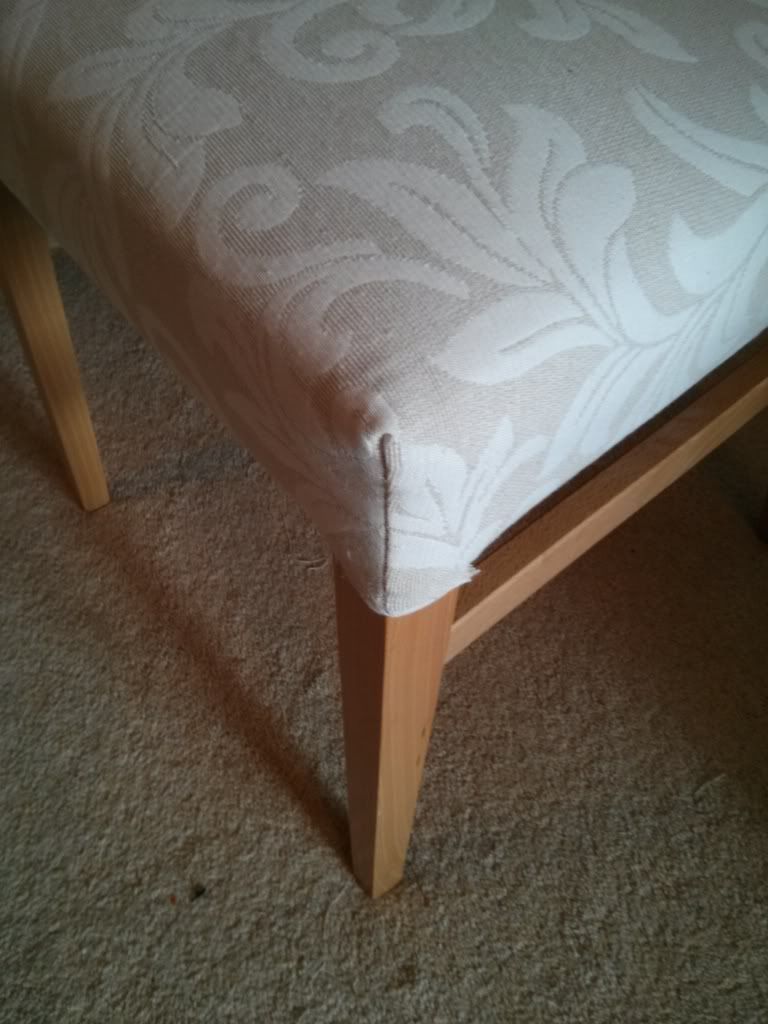
Did t’other side the same and turned it inside and and put it on the seat base. A few staples underneath to fix it all up and voila!

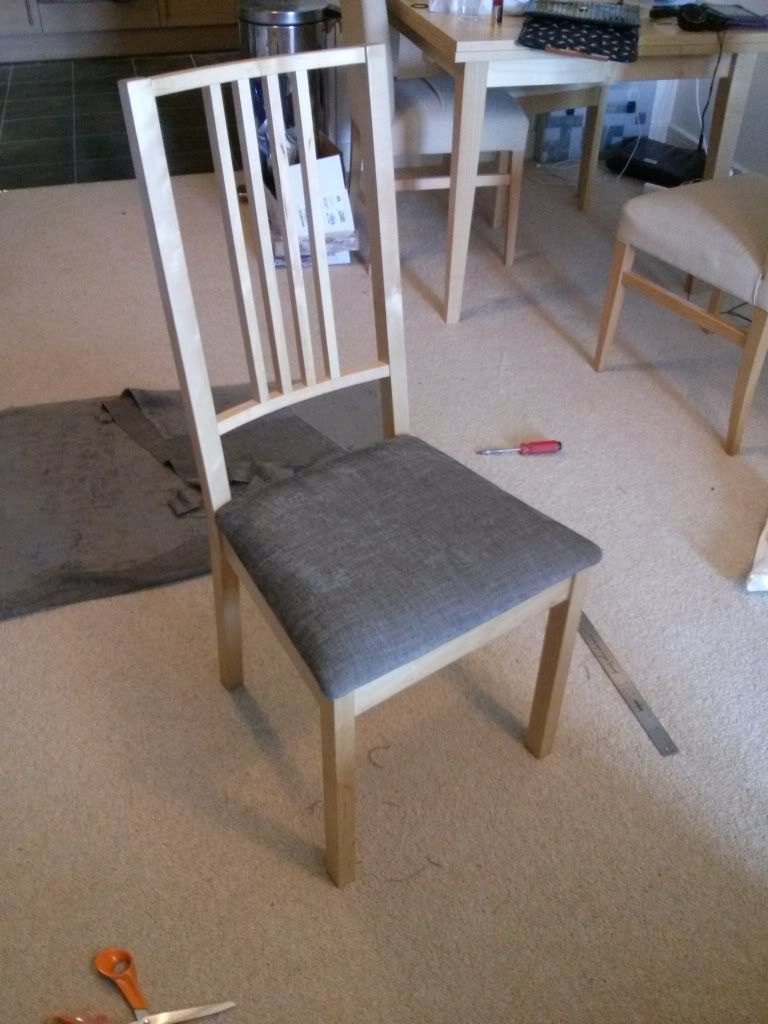
Base done, that was easy

Blimey, that actually looks ok.

My first seam!

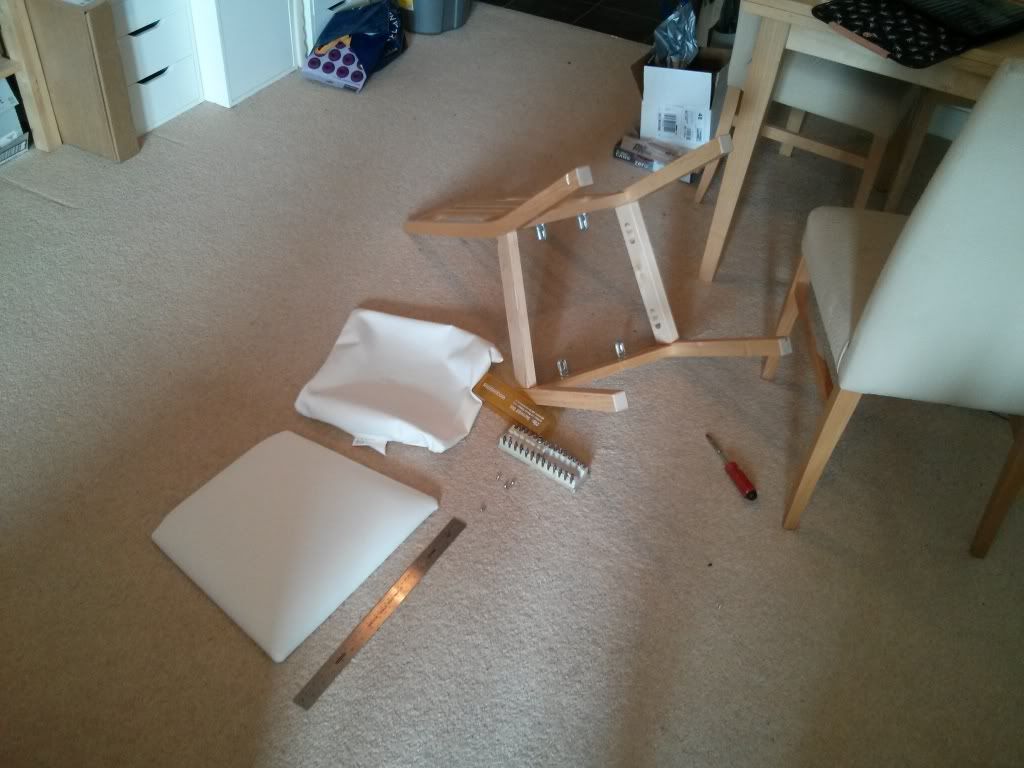
Next was the back, a bit more tricky that.
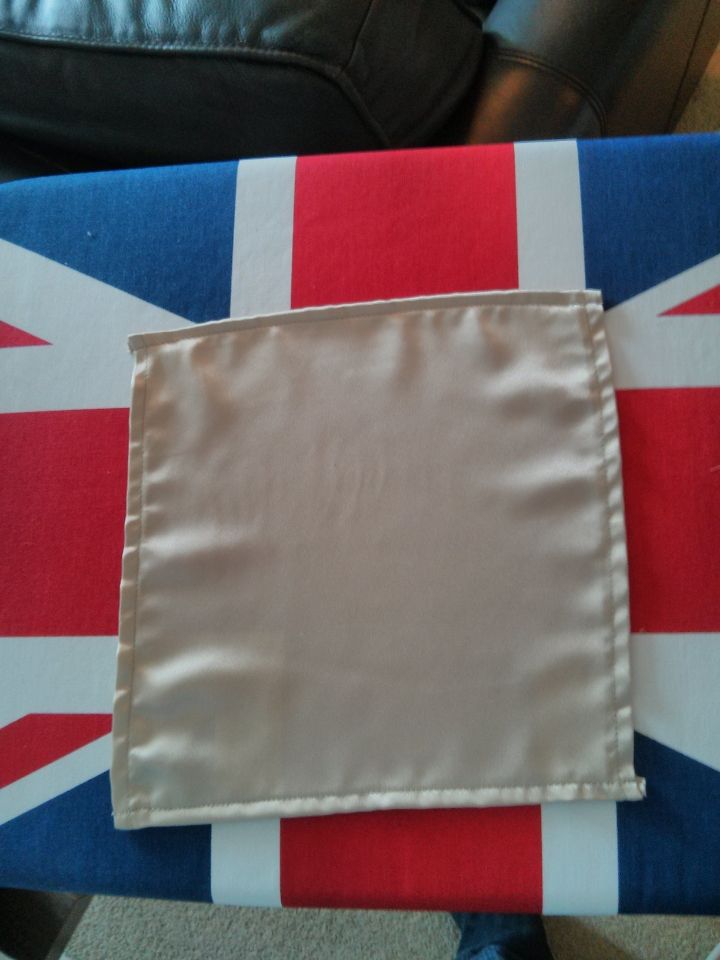
I cut out the front and back pieces, with loads of extra on the edges for when I screwed up. Pinned the back onto the front as tight as I could get it, which involved a fair amount of pinning, then re-pinning bits I had already pinned as I kept going around.
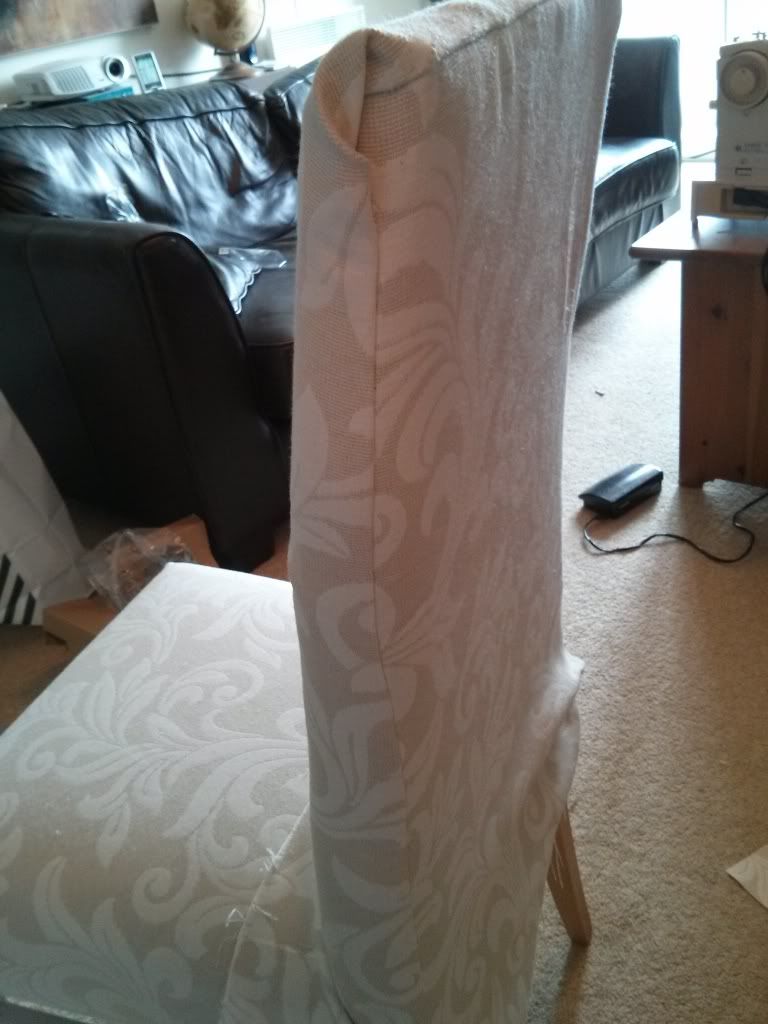
Slipped that off the chair, back to the machine and did the same technique as last time. A guiding stitch outside where I wanted, and another stitch on the pin line. Quite tricky to work with the fabric as I needed to have the front as kind of a large “pocket” rather than just laid flat. Also very tricky due to the sewing machine snapping thread, or not sewing a tight stitch, or not catching the bobbin thread, or a million other problems that i’m sure all beginners have.
A few unpicking and restitching later and this was the result

A bit wonky

Not the straightest seams in the world, but a reasonable fit. I’m sure there is a better way to do the top corners, but I have no idea about that 🙂

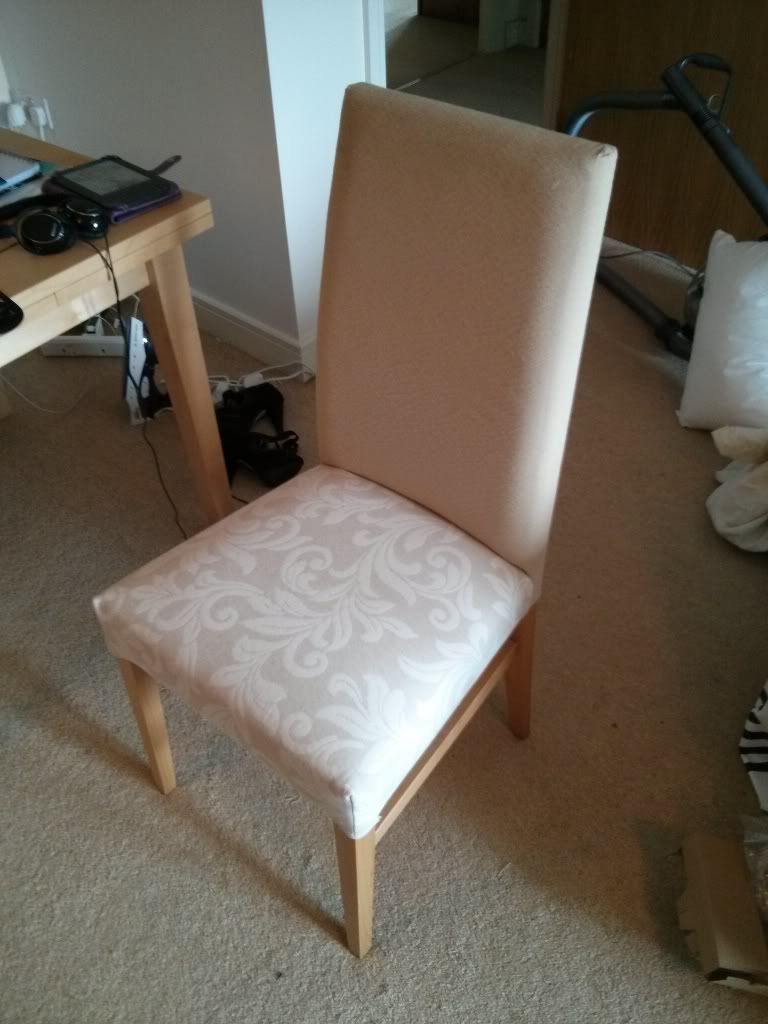
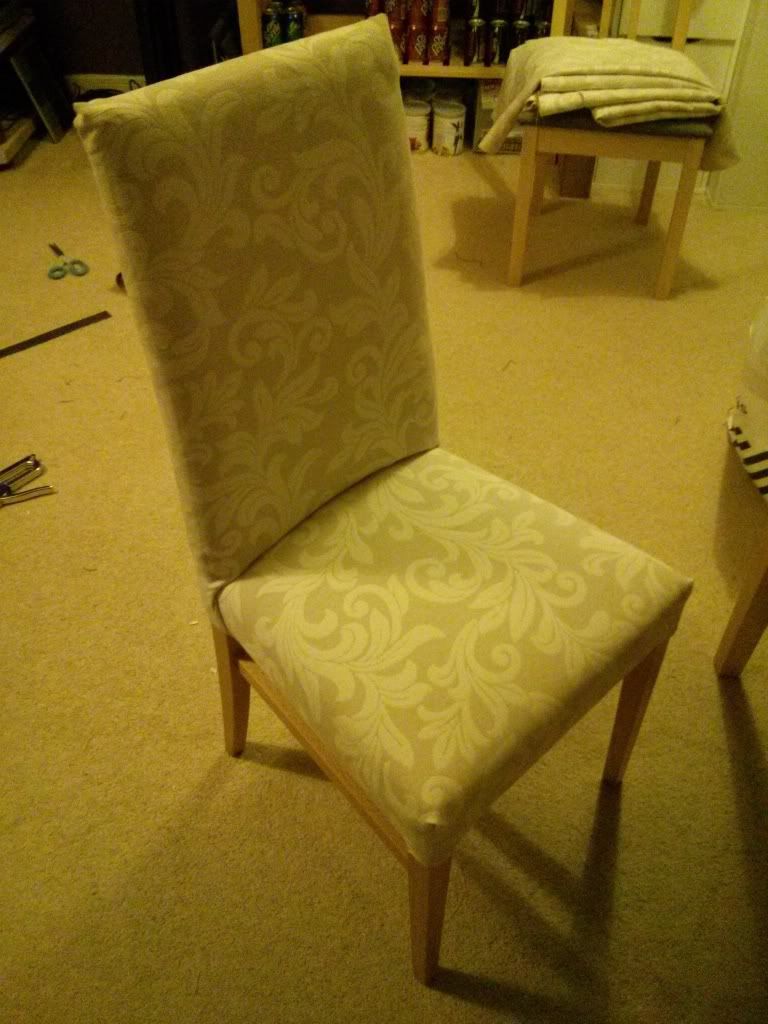
A bit of trimming at the bottom and more stapling and this is the finished result

Done!

Not too bad at all, total time taken was about 4 hours I expect. The next one was quicker, about 2 hours I think.

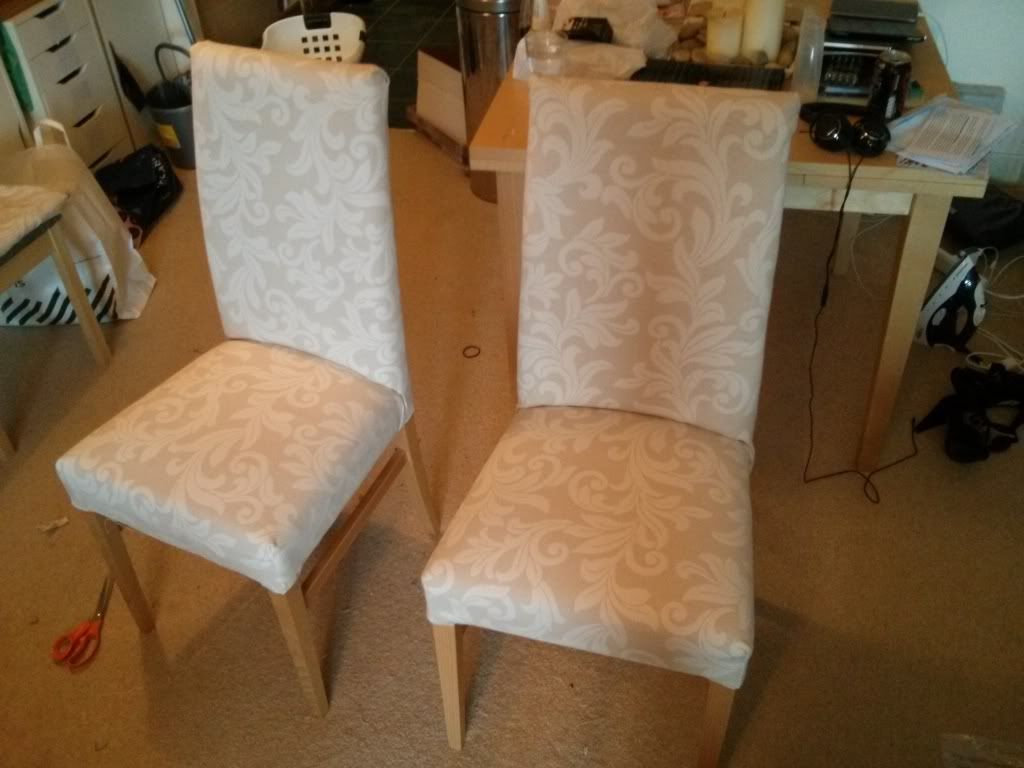
The cloning process was a success…

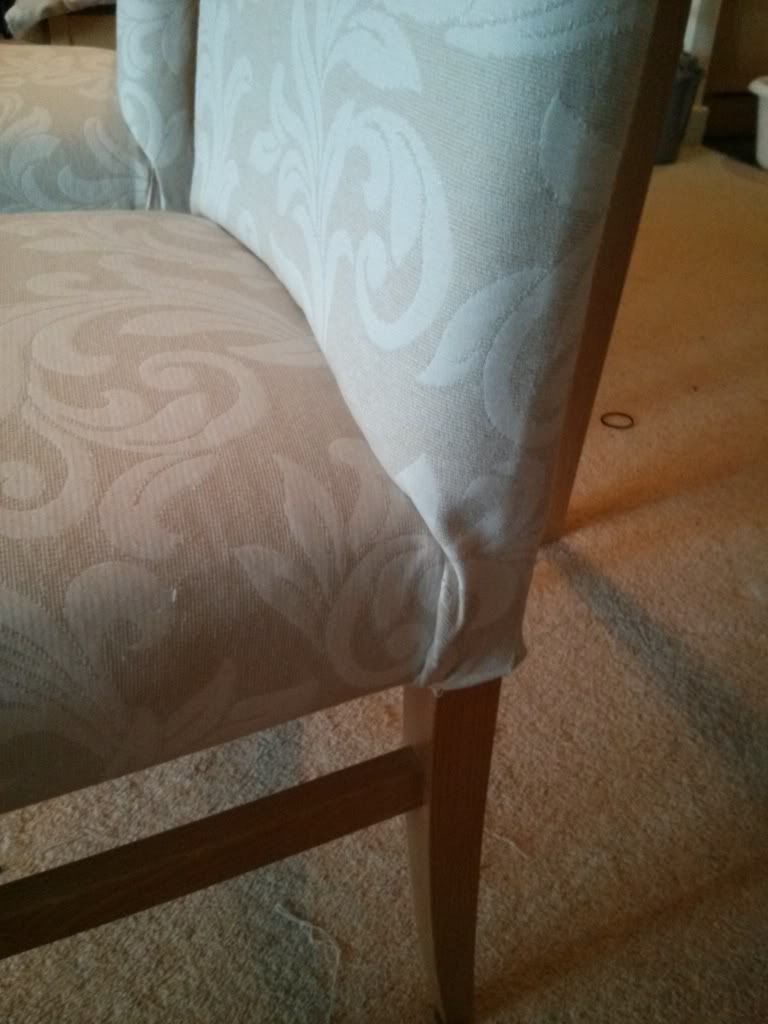
Compare the finishing of the first chair
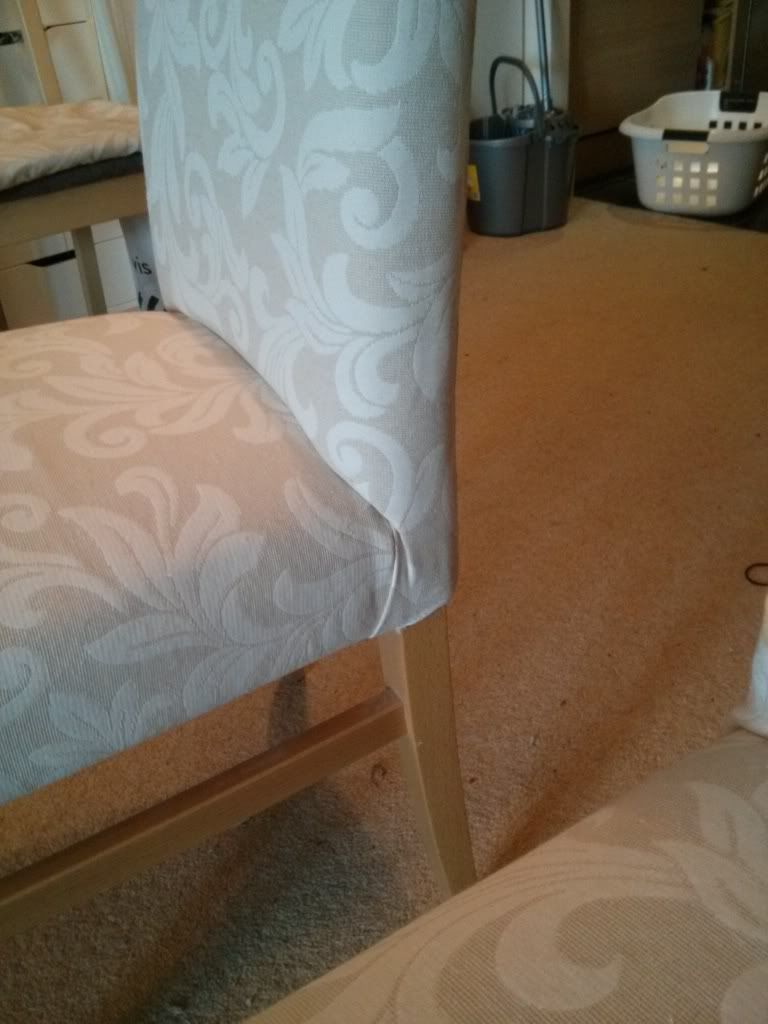
to the second chair

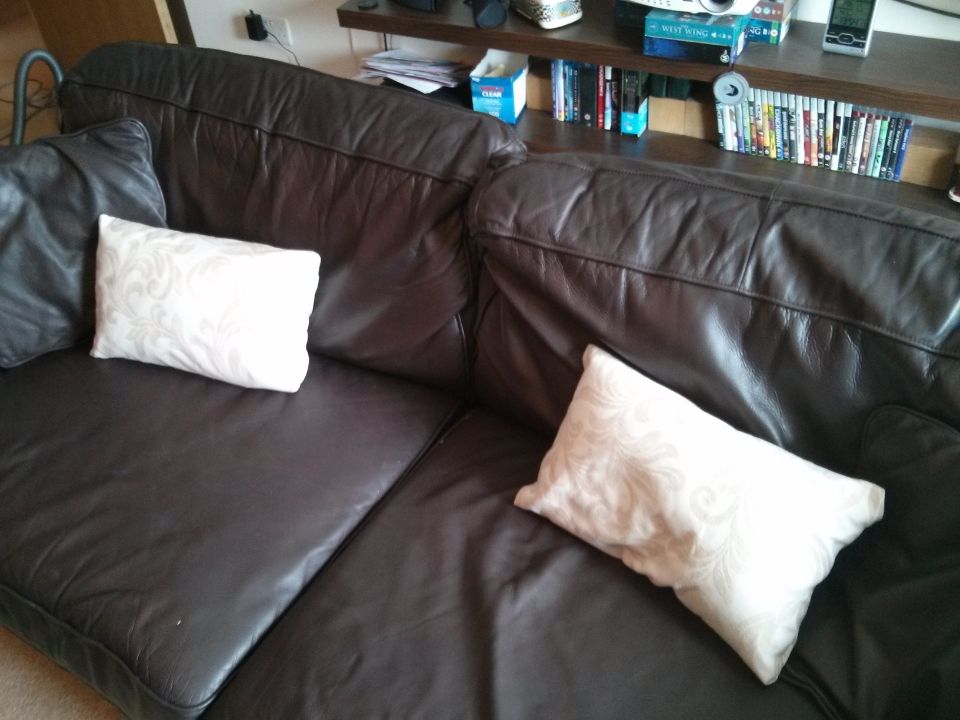
I even had enough fabric left to knock up a couple of envelope cushions, by following this pattern
http://www.housetohome.co.uk/articles/how-to-make-an-envelope-cushion-cushions_474716.html

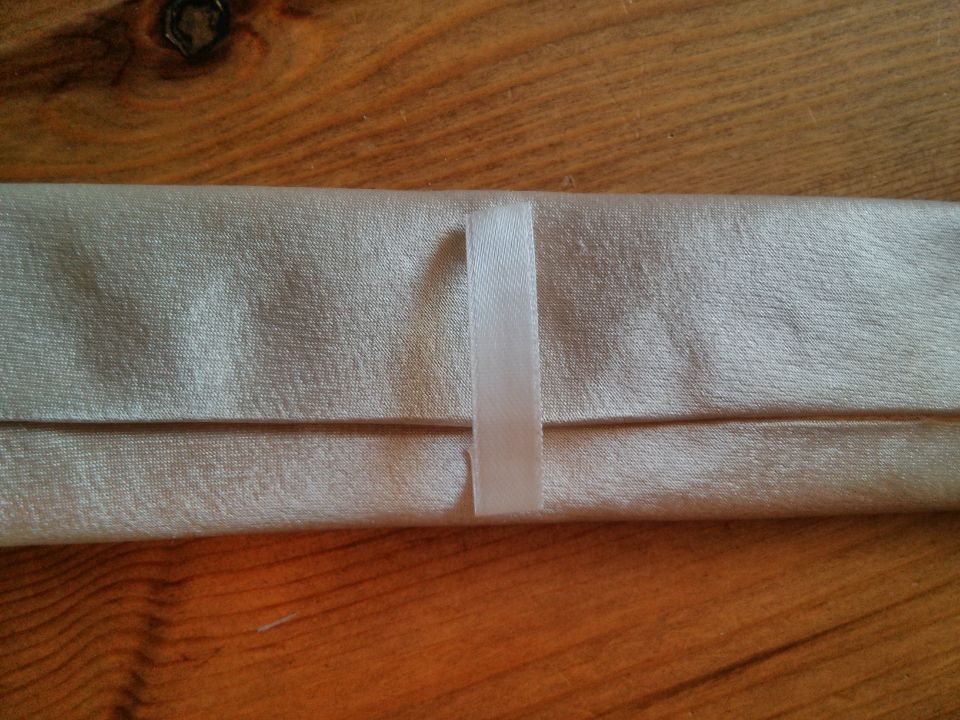
Cushions, one pair of

And a table runner, which it is surprisingly difficult to sew a straight 1.5m stitch.
It was during the table runner that my sewing machine died 😦 A combination of being 30+ years old and not serviced for at least 25 of those, meant that it got slower and slower and eventually stopped. A new machine beckons before the next task.
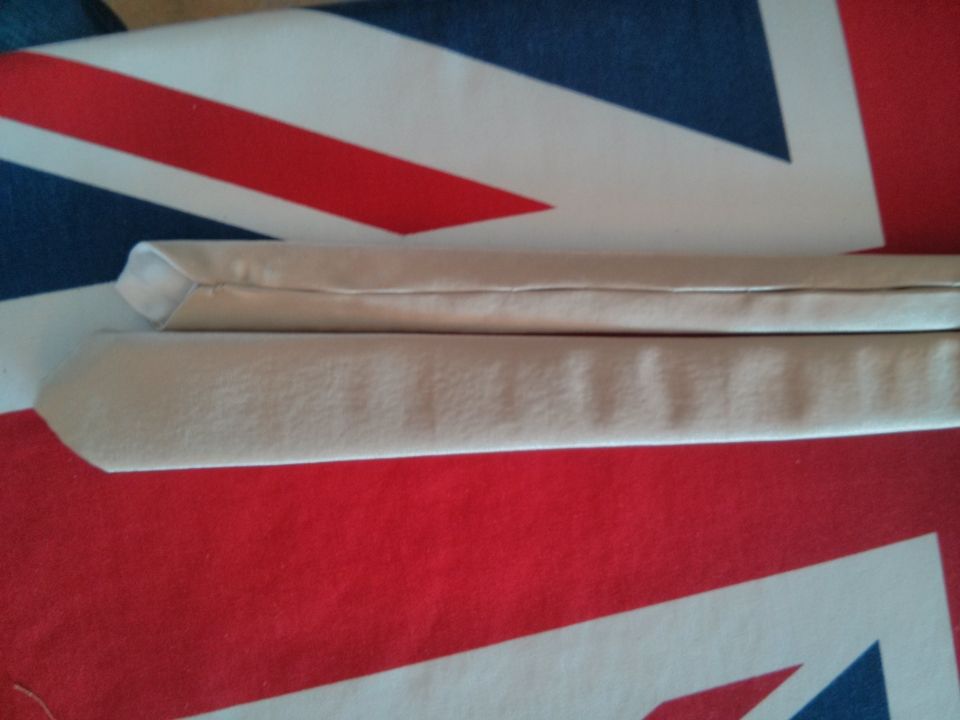
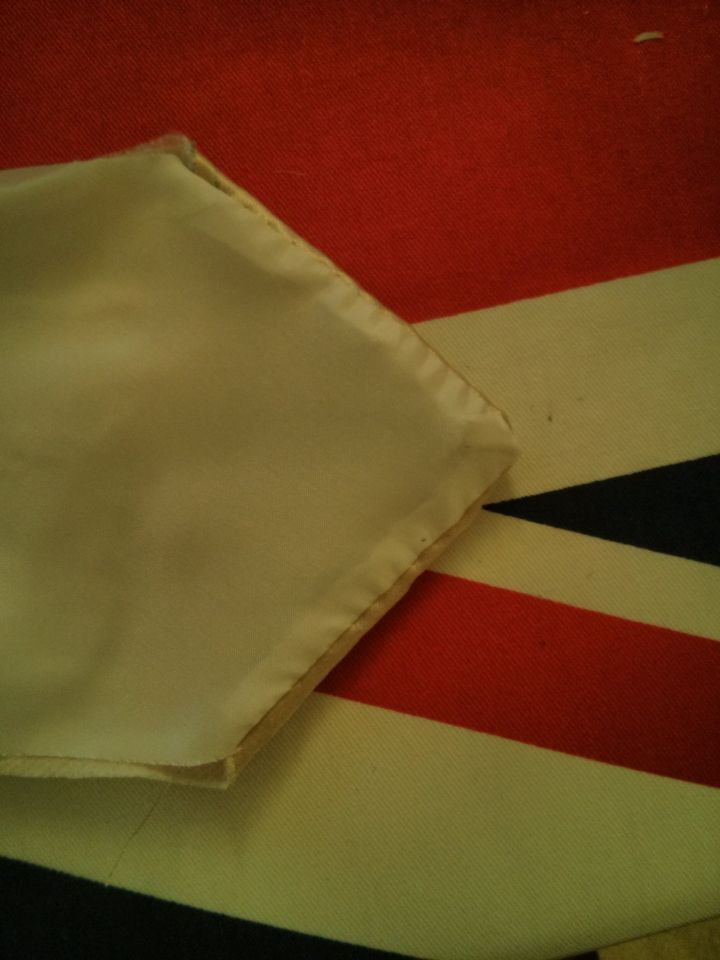
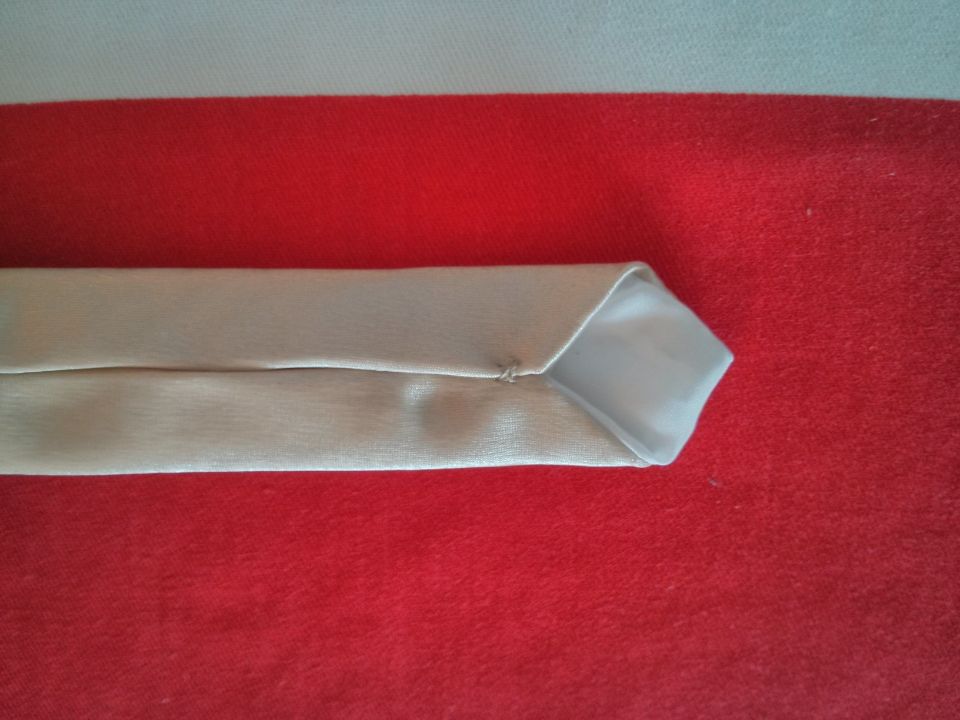
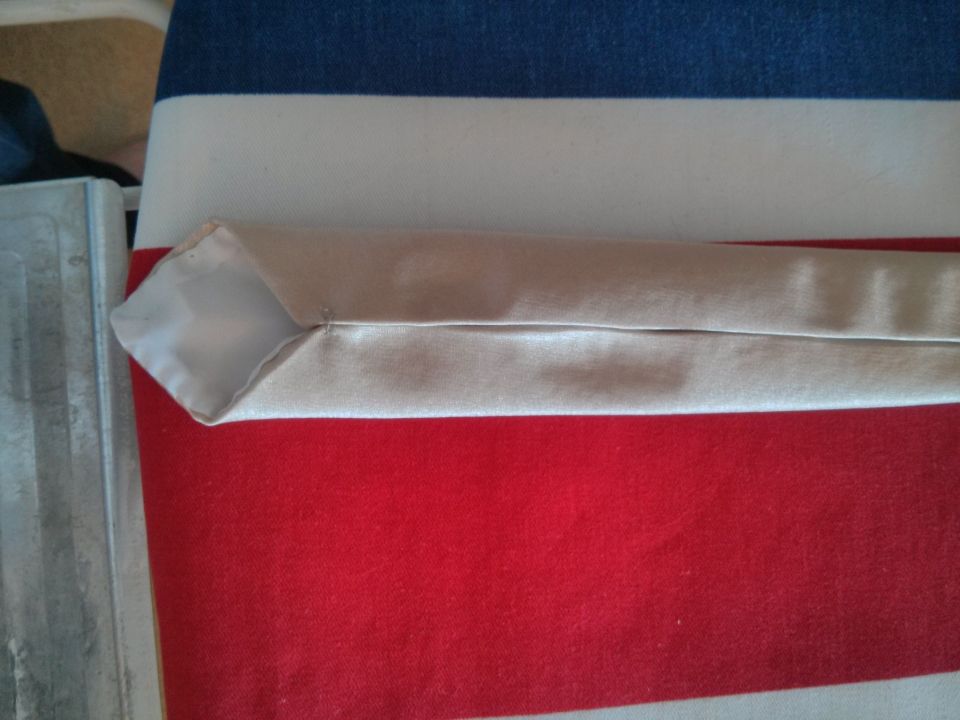
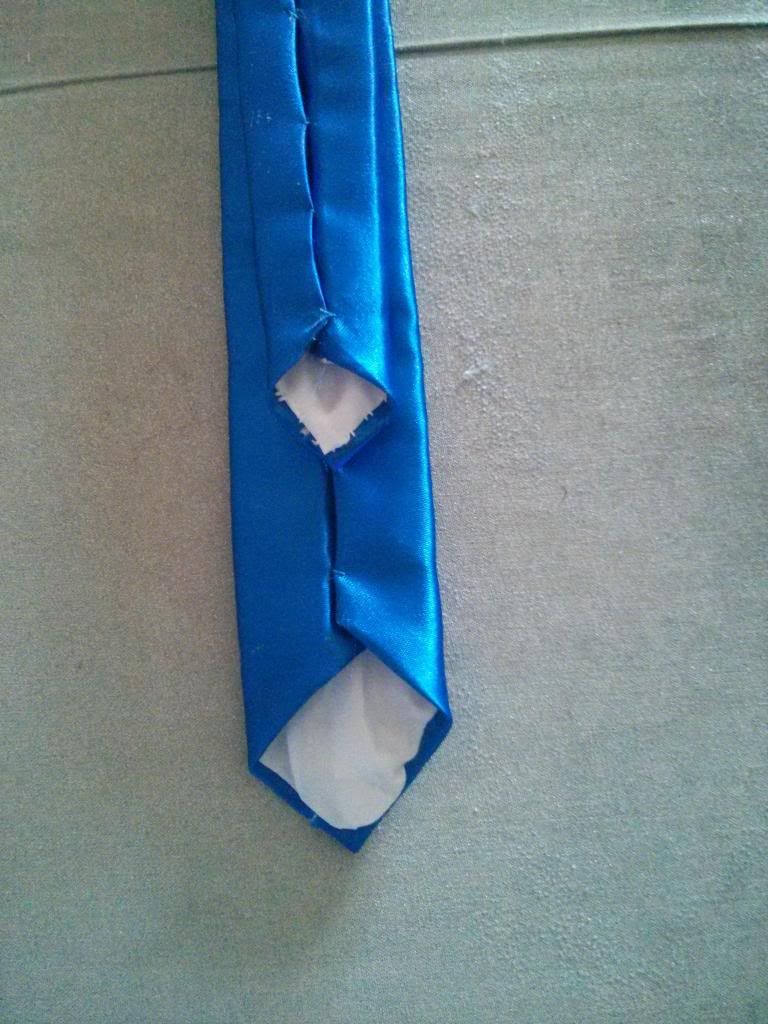
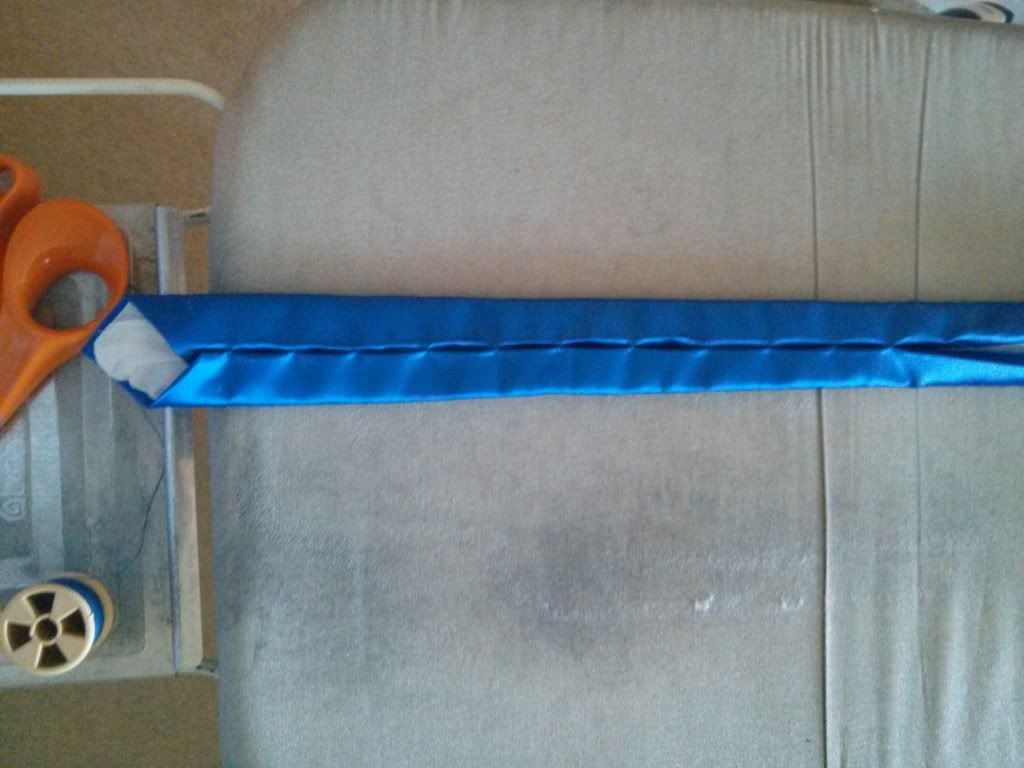
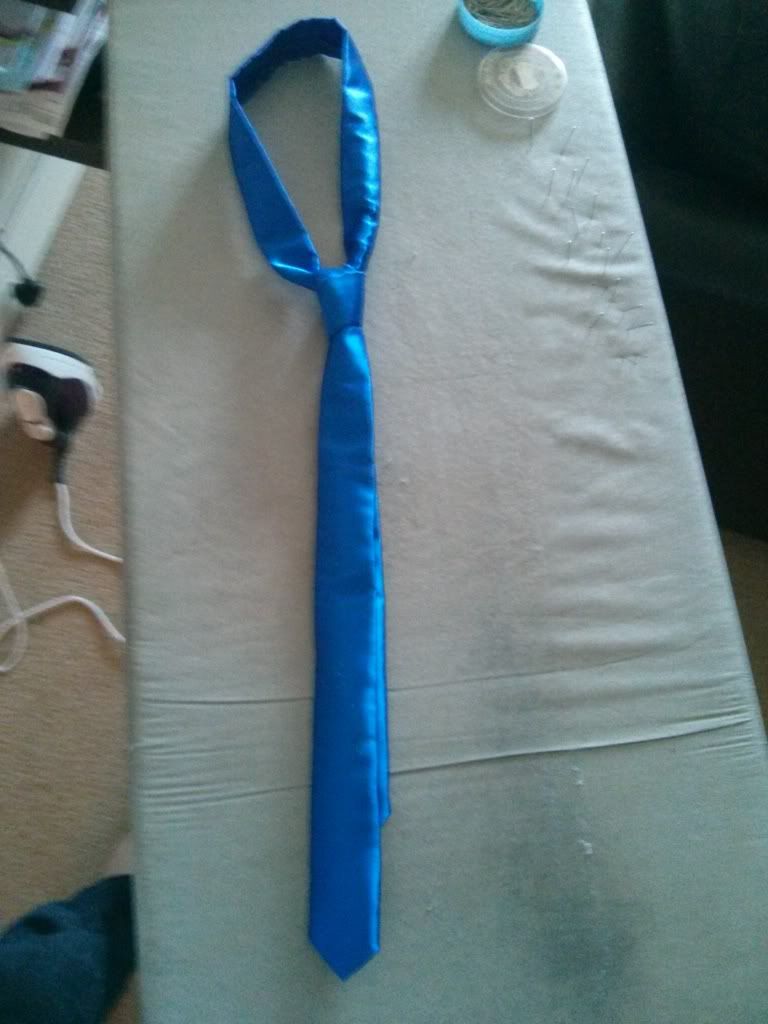
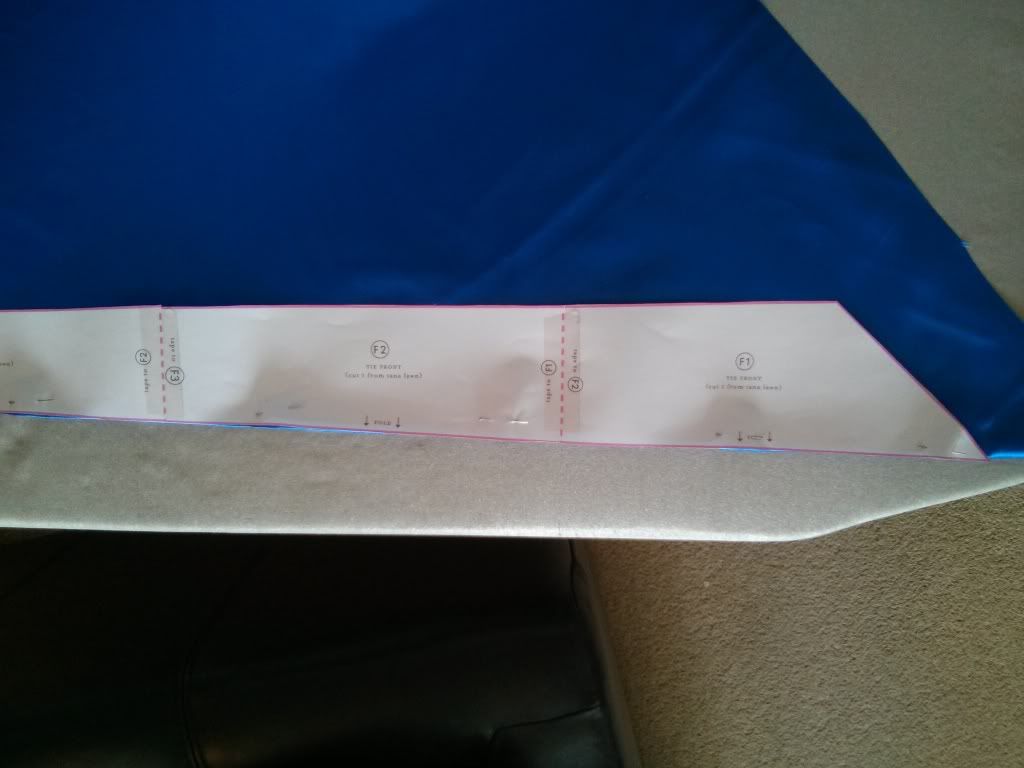
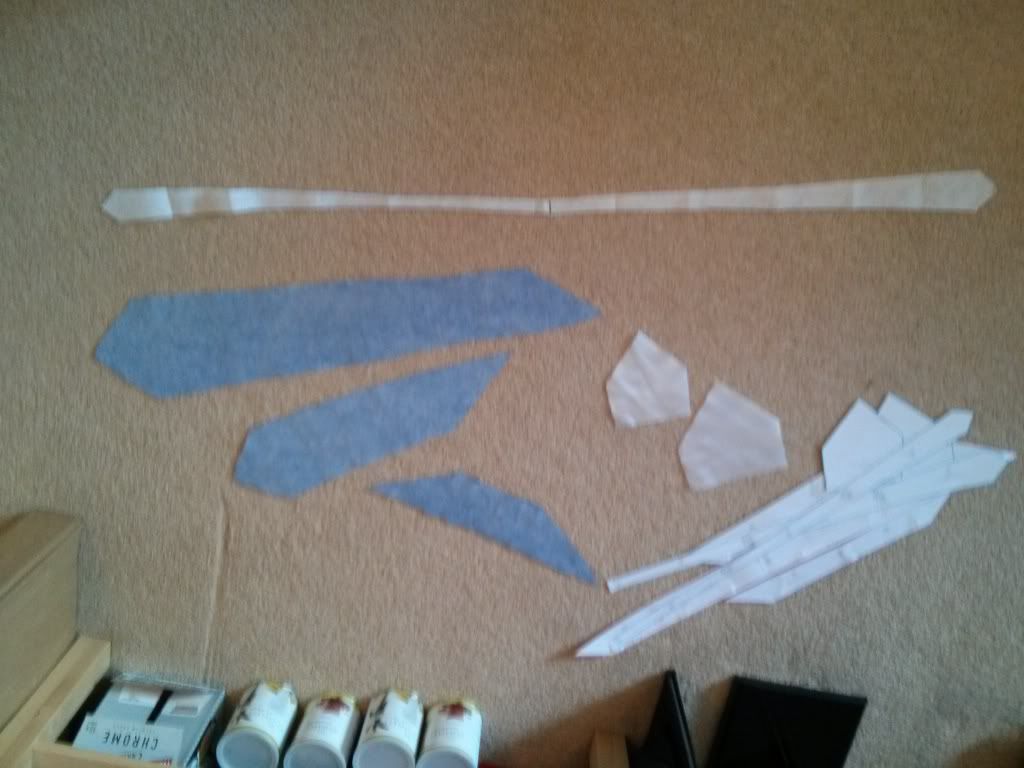
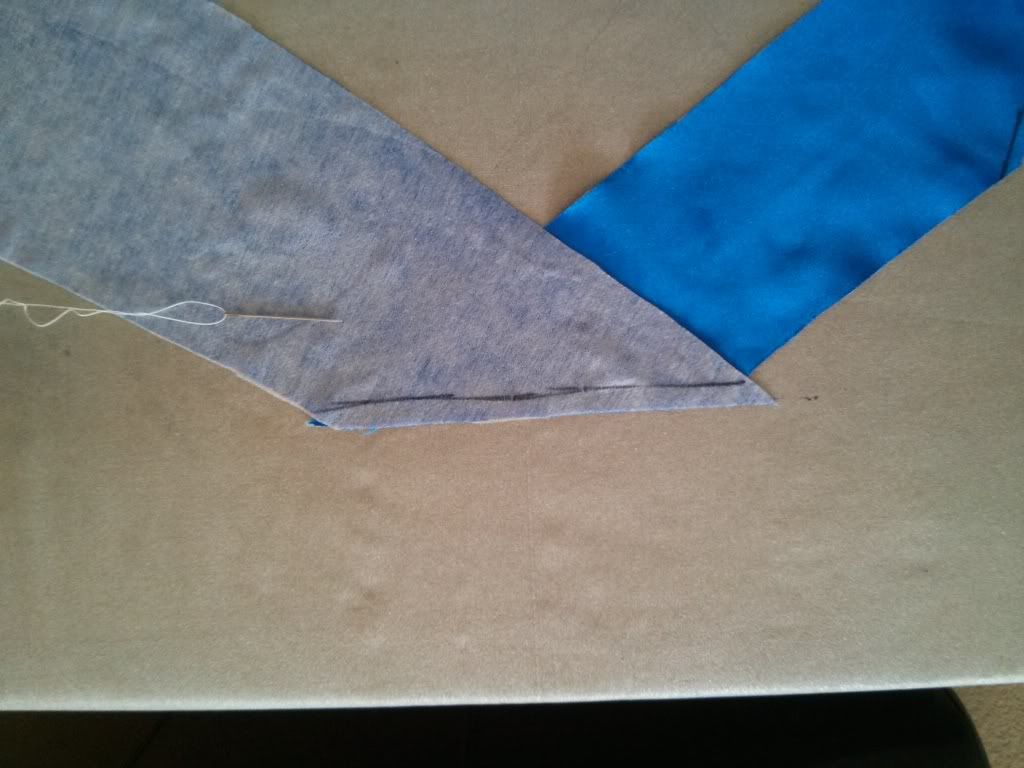
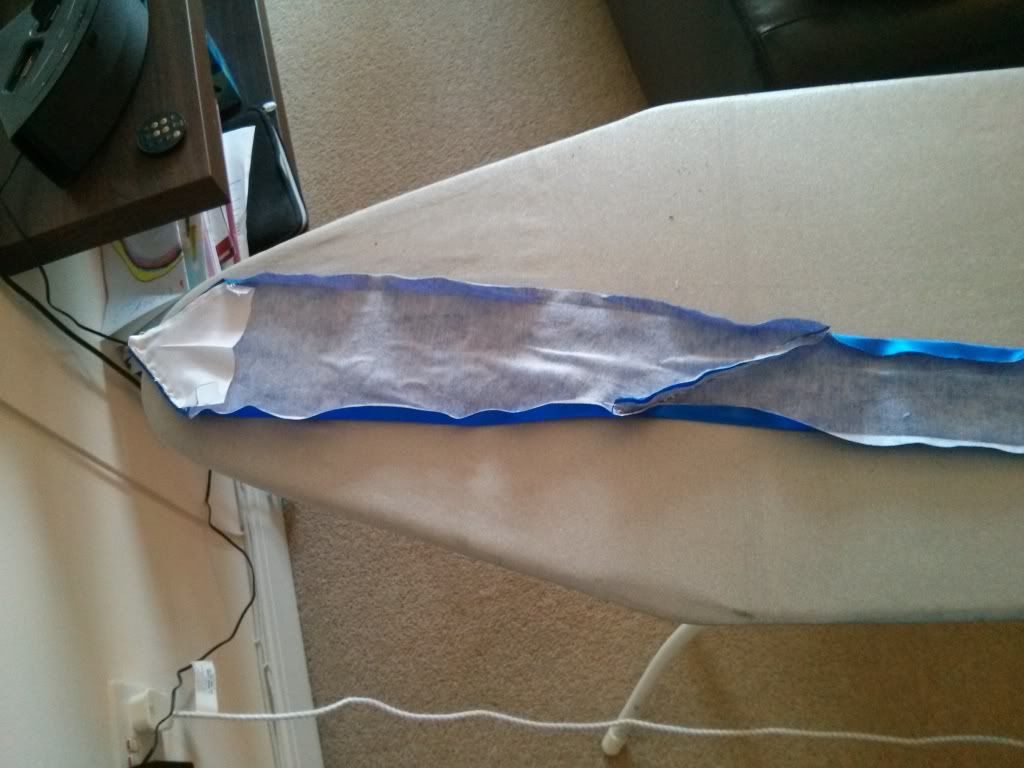
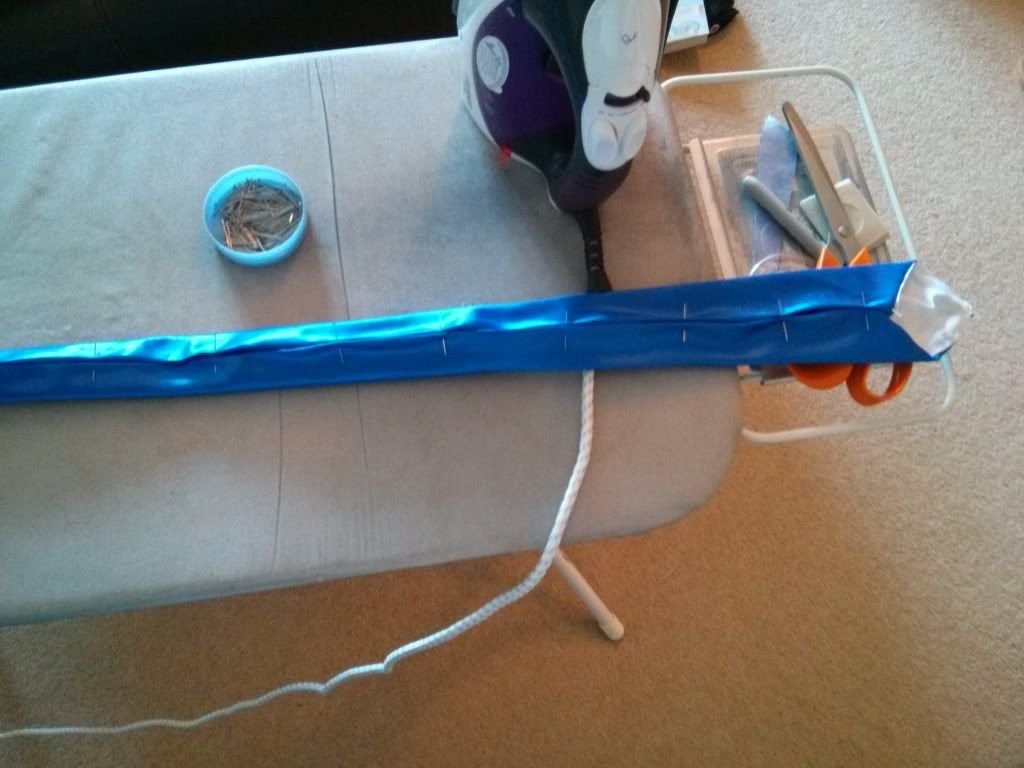
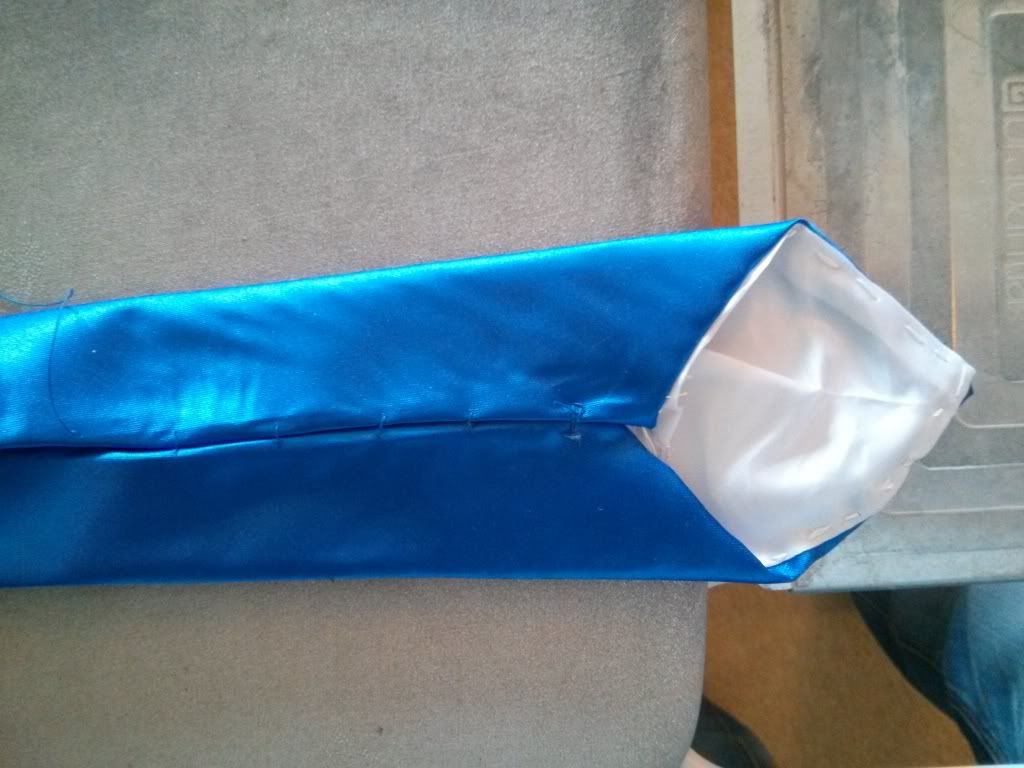
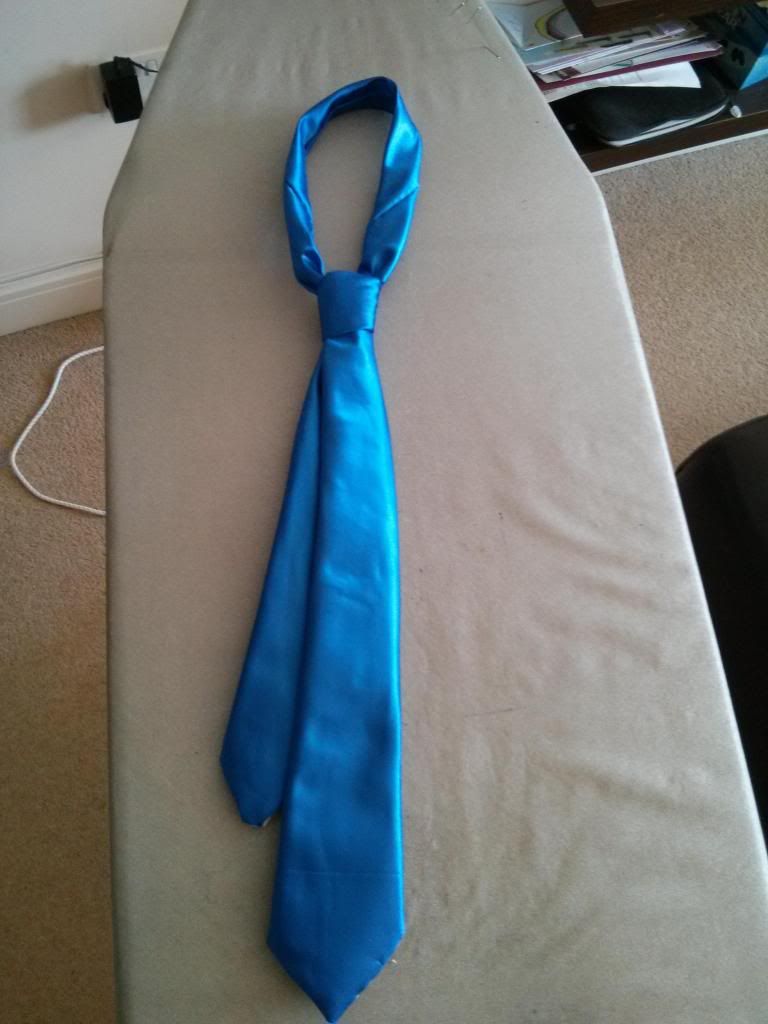
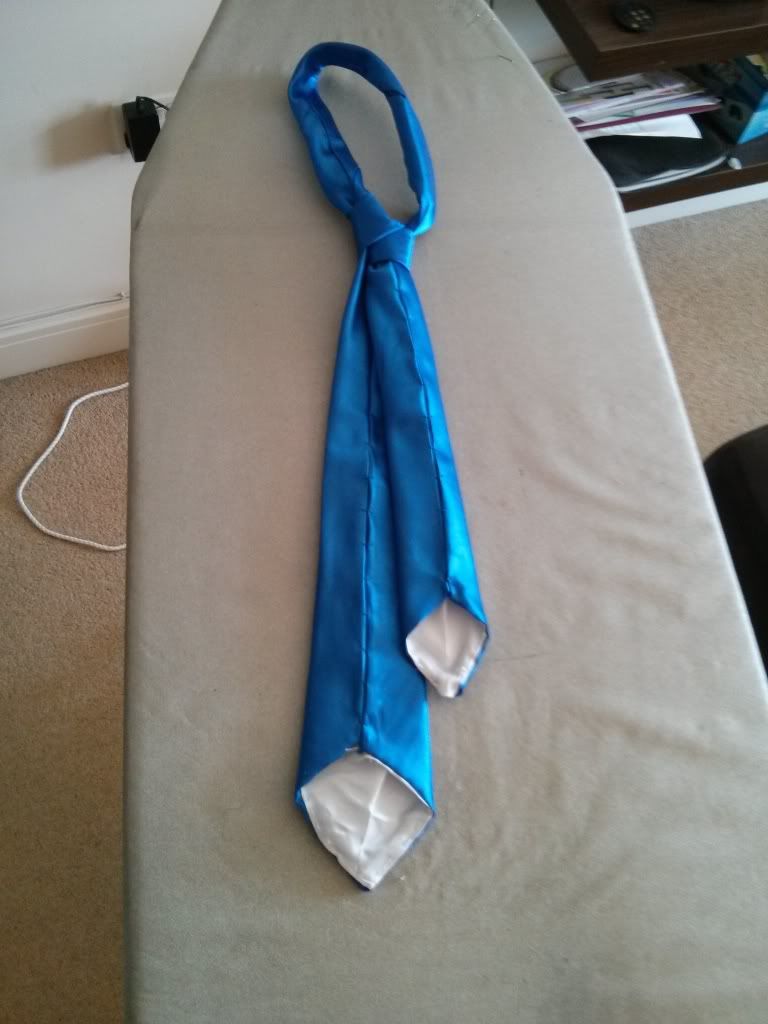
Ties!

Wish me luck.

First attempt a recovering a dining room chair

Technically, this isn’t sewing, but this was my first adventure in fabric.  I went to a fabric shop and everything!  It was super exciting.

So, one trip to John Lewis later for some fabric and a staple gun (staple guns are cool, even though the one I bought was broken straight out of the box. Rather than taking it back, I took it apart and fixed it myself, to try and gain a few man points back) and I did this.

Something you sit on.

A chair, yesterday.

The seat base used to be a grubby white, now it is a sophisticated brown.

Something you sit on.

Two chairs, double the fun

Extremely simple to do, just unscrew the base, turn it over, lay it on the fabric and staple it back up tight.  A good tip is to put a staple in the centre of each side first, then work your way around so as to not end up with a wonky pattern on the base, if you have one.

Something you shouldn't sit on.

Deconstructed chair, from my post-modern phase

Next stop, Parsons chairs!

Introduction

3 years ago I inherited a sewing machine and paraphernalia from my late mother.  I did nothing with it… at all.

About a year ago I sewed up a hole in my trousers.

About a month ago I bought some new curtains, they were too long.  Aha! I thought, I can do something about that, and I hemmed my first pair of curtains, using a machine I had no idea how to use.  It didn’t turn out too bad!  The curtains were shorter, they are even mostly level with the floor.  The hem line is all over the place, but who looks at that sort of thing anyway?

Last week I hemmed another pair of curtains that had always been too long. (IKEA 3m long curtains, who has 3m high windows?  Really?)  This time one of them had an almost perfectly straight hem.  I looked around for other things to sew, I was getting the hang of this…

Those dining room chairs could do with recovering…

So, here we go.  So far I have recovered the seat base of two dining room chairs, recovered 2 parsons chairs (chairs have names, who knew! Thanks Google), made a table runner and 2 cushions.  Next plan is to make a couple of ties for me and my best man, as i’m getting married later this year and neither I nor the missus can find a tie in the right colour.  Admittedly I have no idea what the right colour really is, I just point out various ones and get told no. 🙂

I’ll do a few posts to catch up to where I am, there won’t be many pictures as I didn’t think to take any, as I didn’t plan to start this blog, but I really enjoyed the little bit of sewing I have done, so i’ll see how it goes.

If you have done any sewing at all, you won’t learn anything from me, i’m sure there are great resources out there to get tips and patterns and the like, but maybe you’ll find my journey interesting and think back to how it was when you started out.  I don’t know any of the terms, I have no idea how to do anything and i’m making up a lot of stuff as I go along.

Wish me luck.