Ties. Attempt number 2
Pattern? We don’t need no stinkin’ pattern.
Last tie was definitely tie shaped but needed a lot of work for me to be happy with it, onto tie number 2.
This time I threw away the pattern and made my own. I traced round a skinny tie I already own, added on a bit to the sides for the hem, and then half of the tie width again for the fold.
I also cut out the sew in interfacing to the same length and width of the skinny tie.
Also, I just cut it out in one big piece, but against the bias this time…

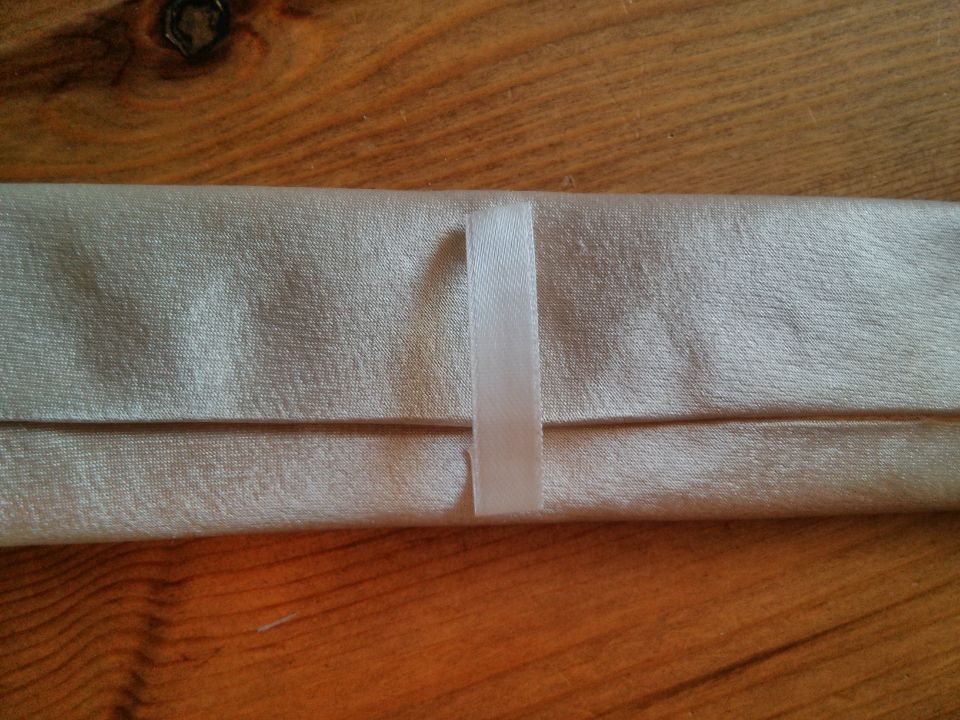
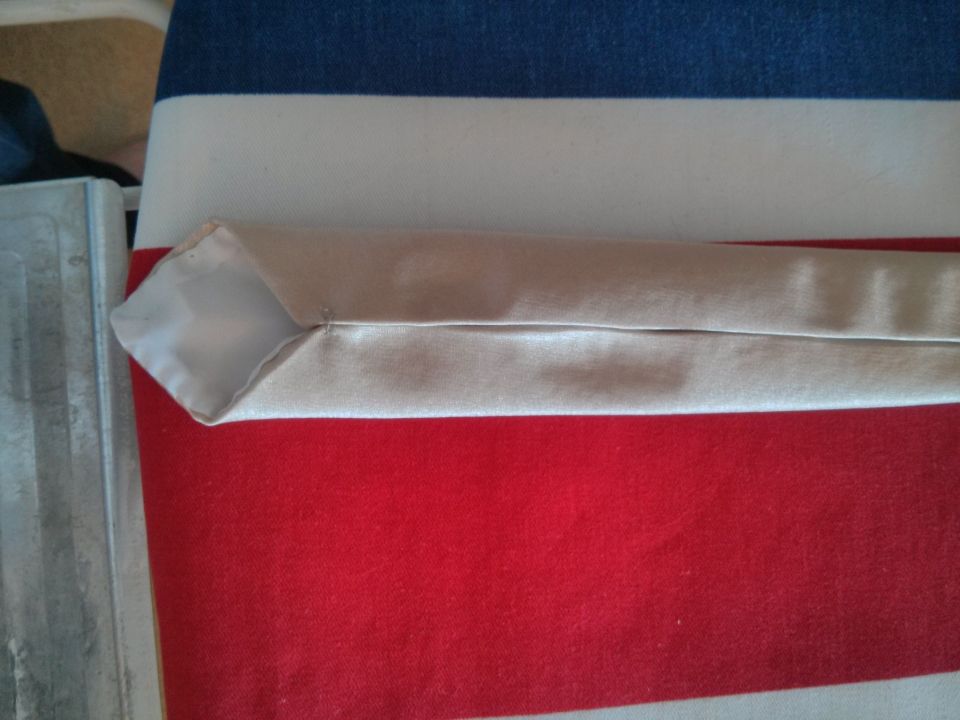
It’s a tie, just thinner
Lining was a bit better, on the smaller end of the tie I tried a slip stitch, but didn’t hide it enough. On the larger end I managed to run it further under the lining so it is invisible, but couldn’t get it tight enough. Next plan is to practice just this bit on a few fabric ends, but with the revelation of why don’t I just invert the tie and machine stitch it in! Let’s see how that goes, I fear it will leave the front puckered when I turn it the right way out, but i’ll have to have a play to see. This does mean I need to buy a new sewing machine, John Lewis here I come!

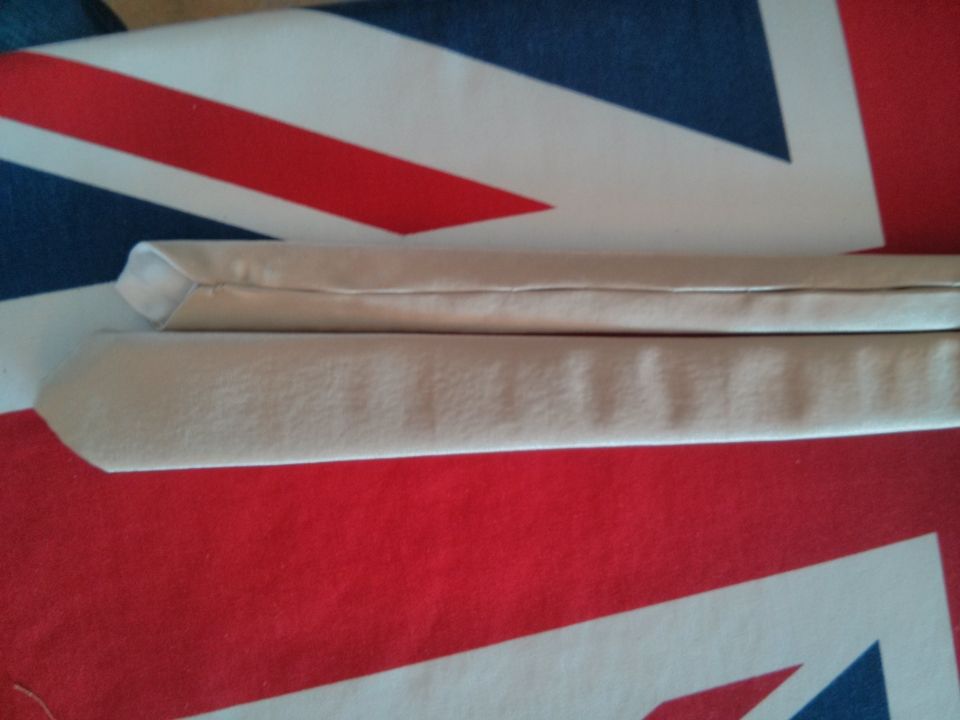
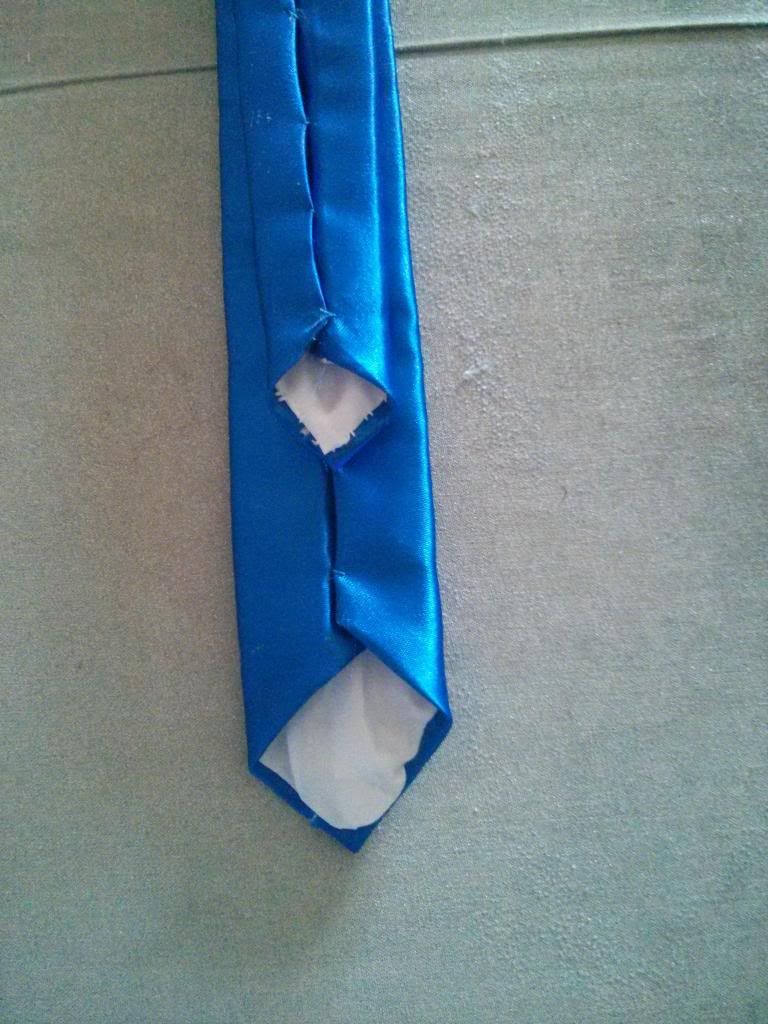
Inside every thin tie, there is a fat tie trying to get out
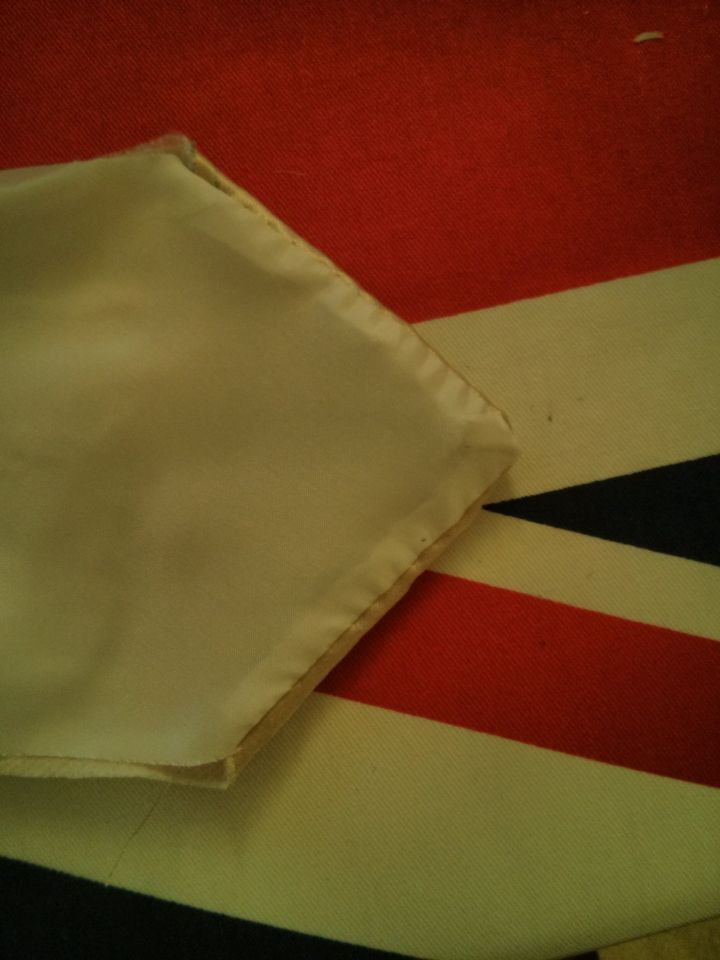
You can see that the pattern wasn’t ideal, I need it a little bit wider, as the combination of being very skinny and working against the bias meant that the ladder stitches are gaping a bit on the reverse of the tie. Next attempt will be a single piece of fabric, a bit wider but cut with the bias, that should fix that, I hope. Plus I have a better technique for the ladder stitch, in theory anyway.

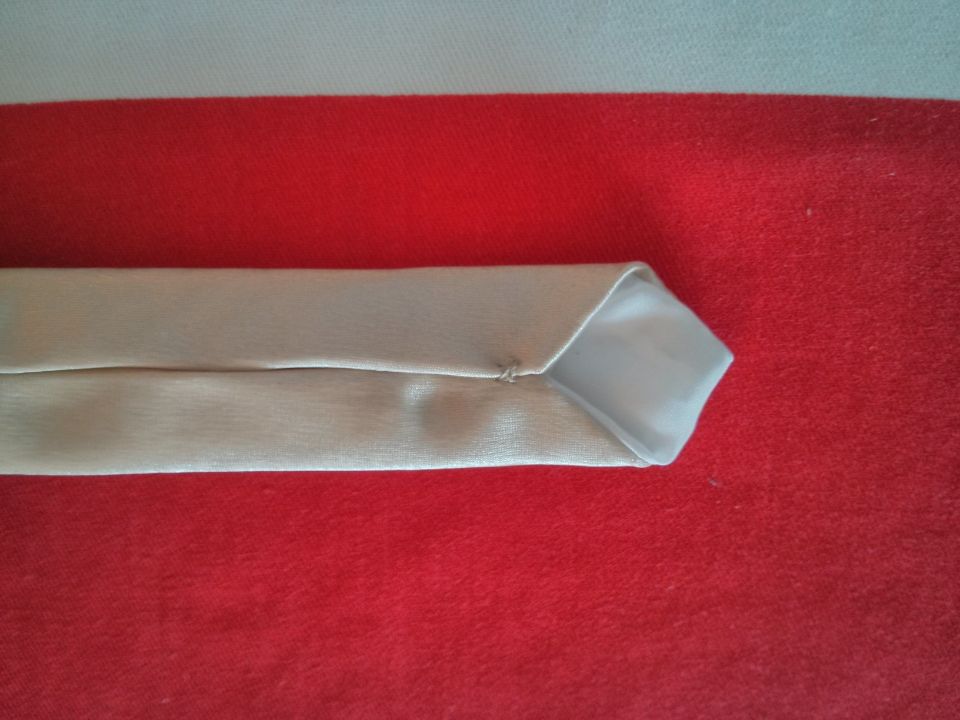
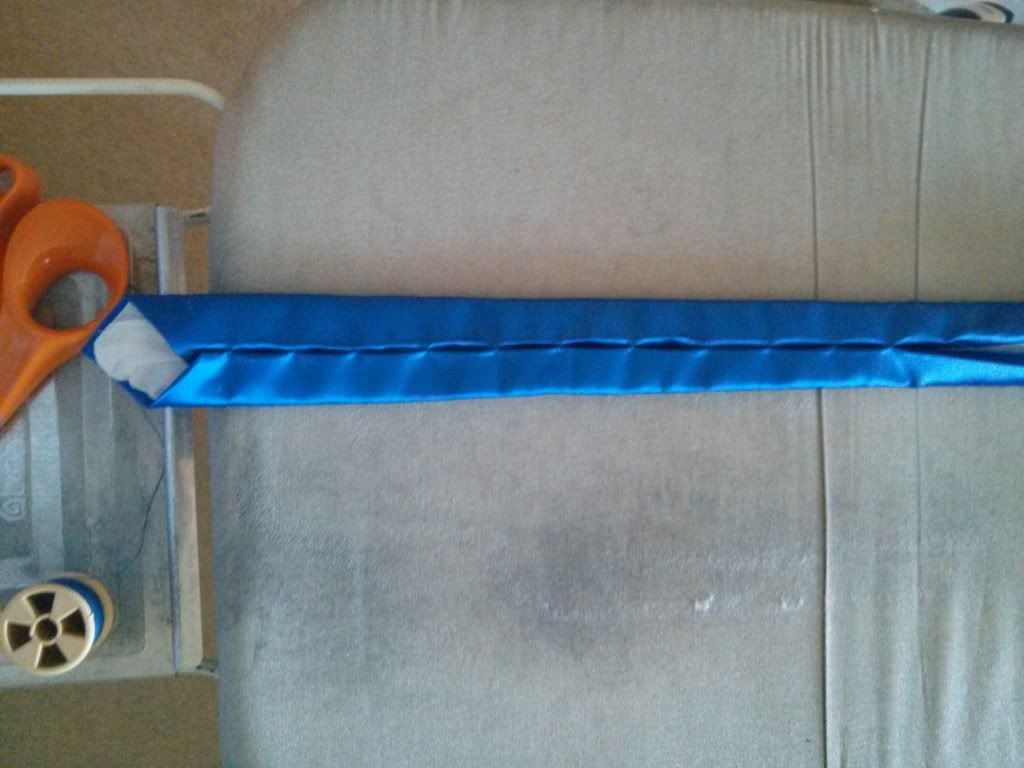
Skinny tie!
This tie was much quicker to make, about 3 hours start to finish I think, maybe a bit more.

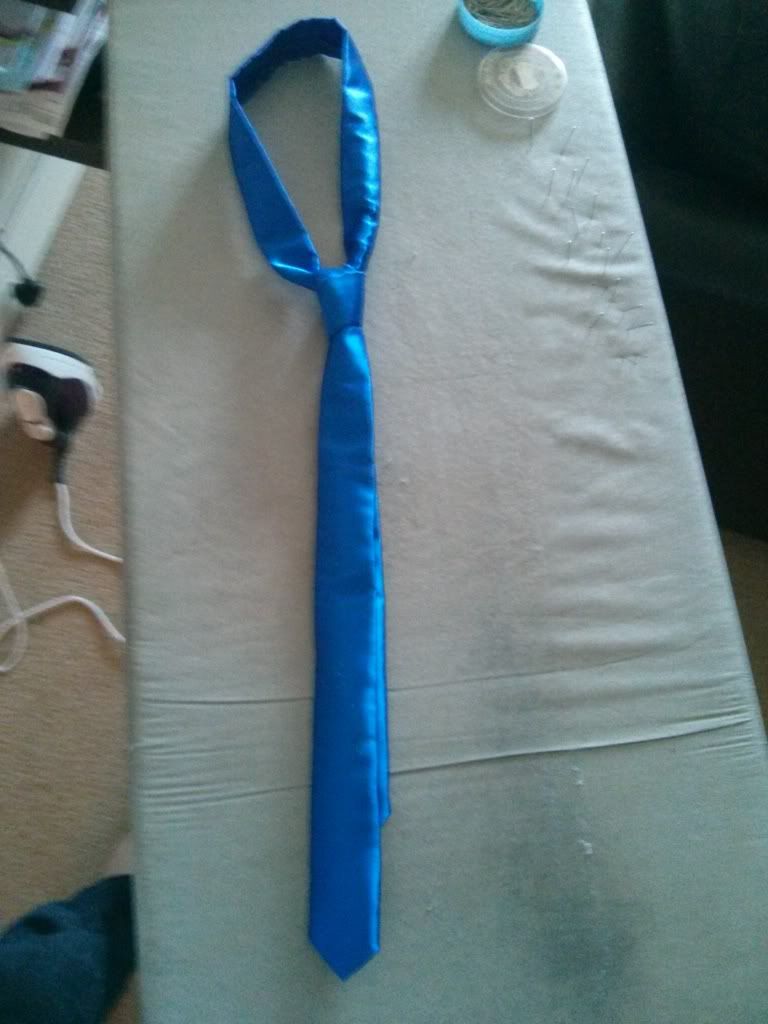
Skinny tie!
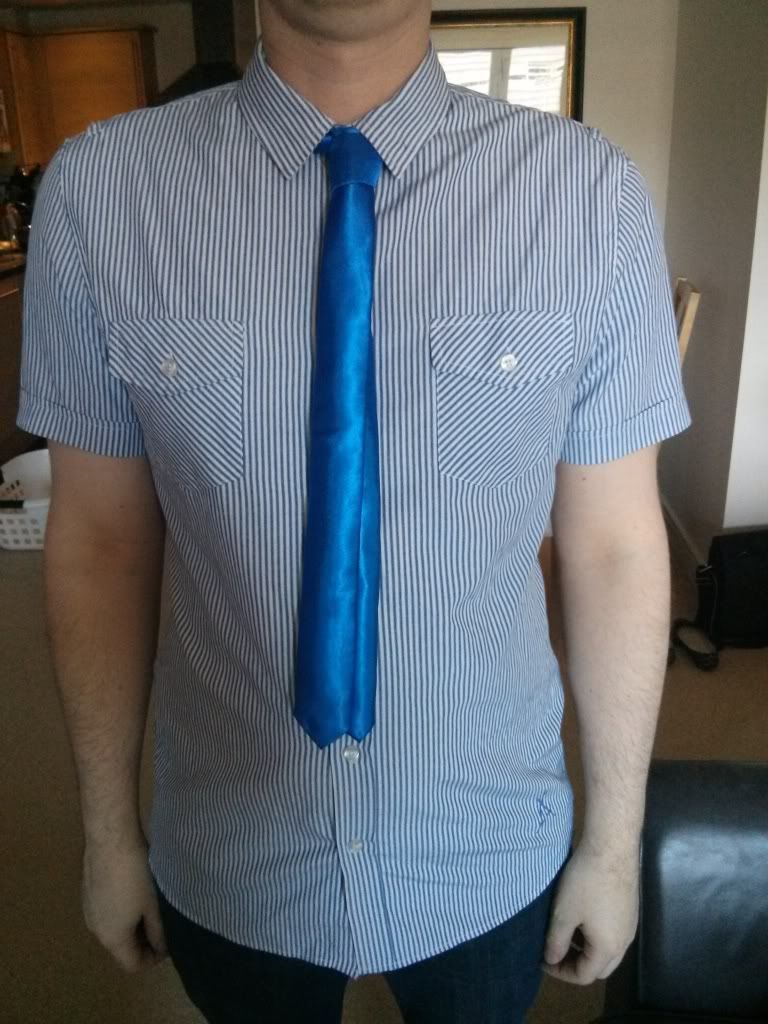
Modelled by yours truly, doesn’t look too bad, even with glue stains and a short sleeve shirt.